
Master veterinary spinal CT with our comprehensive protocol. Learn optimal positioning for C-spine and T-L spine, FOV adjustments, and contrast timing for high-resolution diagnostic imaging.
Computed Tomography (CT) is the gold standard for diagnosing complex spinal pathologies in veterinary medicine, from acute trauma and neurological deficits to meticulous surgical planning. However, the quality of your diagnostic images is heavily dependent on precise positioning and technical parameters.
This guide outlines the essential protocols for C-Spine, T-L Spine, and Brachialis Plexus imaging to ensure maximum diagnostic resolution.
Most of the time, this study is required for neurological deficits, trauma or just cold be for surgical planning.
1. Patient Preparation & Positioning
Proper alignment is non-negotiable for high-quality spinal CT. Misalignment can lead to “frog” positioning or rotation that obscures intervertebral disc spaces.
- General Prep: IV catheterization and anesthesia/intubation are highly recommended for all spinal scans to eliminate motion blur.
- C-Spine: Position the patient in dorsal recumbency with a small cushion under the cranial neck. Ensure the hard palate is parallel to the table with the head in extension.
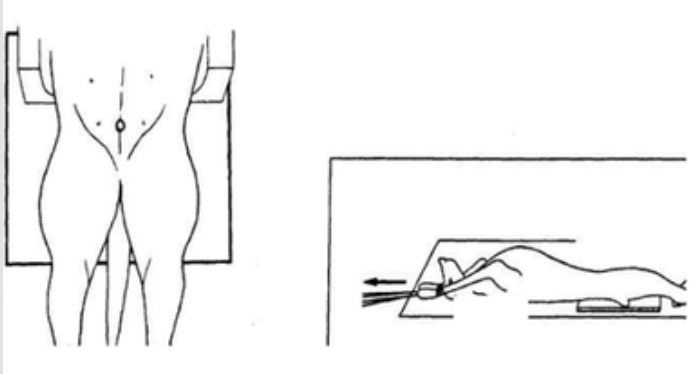
- T-L Spine: Use dorsal recumbency only (avoid sternal due to breathing motion). Secure limbs cranially and use wedge-shaped foam troughs to keep femurs at 45–60° to the table.
- Laser Alignment: Set your laser beam height exactly at the level of the spine, as a reduced Field of View (FOV) will be used. 2. Optimizing Field of View (FOV)
One of the most common mistakes in spinal CT is using a FOV that is too wide.
- Resolution: For spinal cases, adapt the FOV to the diameter of the spine. While a wider FOV may catch incidental findings in the thorax or abdomen, it significantly reduces the resolution of the spinal column.
- Midline Check: Ensure the laser guide remains on the midline at both the start and end of the scan area.
- Post-Processing Tip: If you require abdominal or thoracic views, you can create a reconstruction with a wider FOV from the raw data without repeating the scan.
3. Scan Parameters & Contrast Protocol
Precision in slice thickness and contrast timing is vital for identifying soft tissue pathology.
Technical Parameters
| Spine Area | Size | kV | mAs | Slice Thickness |
|---|---|---|---|---|
| C-Spine | Small/Med | 110/120 | 60 | 1.2mm |
| C-Spine | >20kg | 110/120 | 100 | 2.0mm |
| T-L Spine | Small/Med | 110/120 | 80 | 1.2mm |
| T-L Spine | >20kg | 130 | 100 | 2.0mm |
- Overlap: Use a 50% overlap increment (e.g., 0.6mm for a 1.2mm slice) for all scans.
- Reconstructions: Always submit transverse reconstructions in both Osteo/Sharp and Soft Tissue algorithms.
Contrast Medium
- Dose: $2~ml/kg$ of Iohexol (300/350 mg I/ml).
- Timing: Start the post-contrast scan exactly 1 minute post-injection.
- Indications: Essential for suspected neoplasia, infection, or inflammation. It is also highly useful for disk pathology.
4. Special Considerations: Plexus Brachialis
For scans involving the Brachialis Plexus (C4-T2), the patient should be in ventral or dorsal recumbency with both forelimbs maximally extended cranially. The shoulders must remain perfectly parallel and symmetrical. Ensure the DFOV is large enough to include the entire plexus area.
[Download the Complete Protocol Now]
Start today: Book your DEMO Smarter Teleradiology. Faster Diagnosis. Better Results.
Imaging guides on this topic
Browse all imaging guides
CT of the canine thoracolumbar spine for suspected disc extrusion
When non-contrast CT is enough for thoracolumbar disc extrusion in chondrodystrophic dogs, and which dogs need CT-myelography or MRI instead.
MRI of the canine thoracolumbar spine for disc extrusion
What MRI shows in dogs with acute thoracolumbar disc extrusion, how it compares with CT, and which findings matter for surgery, prognosis and myelomalacia.
MRI of the canine vertebrae for discospondylitis
How radiographs, CT and MRI compare for canine discospondylitis and vertebral osteomyelitis, what MRI shows, and which mimics and follow-up limits to expect.